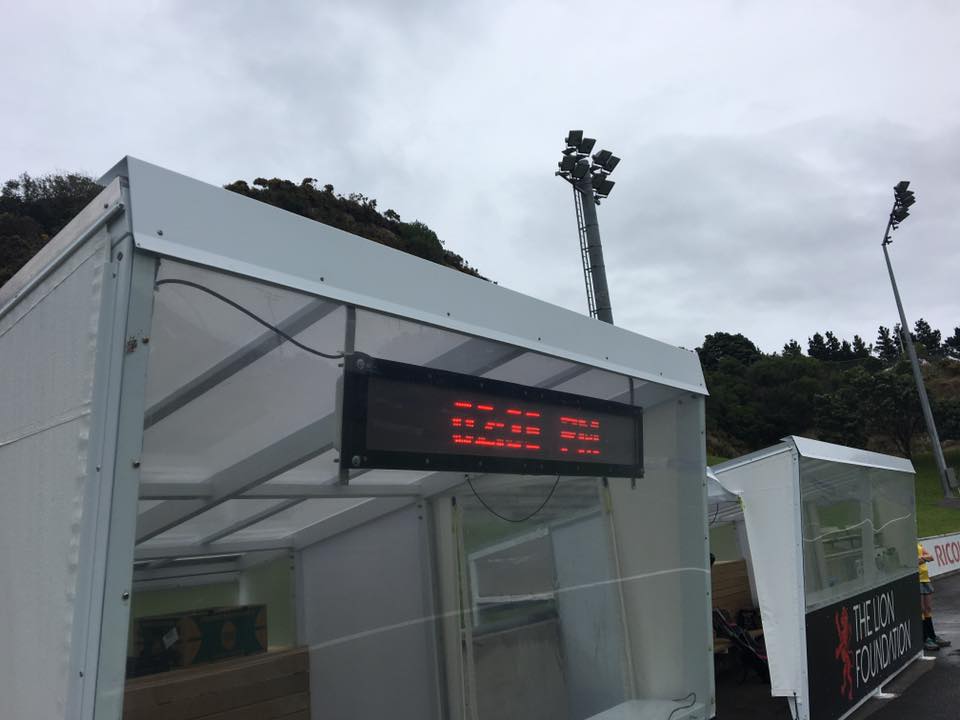
At SuperHouse Automation we love it when our fans share their own projects with us. Ben Lennard from Lennard Electronics recently got in touch and shared his great project. Using four Freetronics dot matrix displays, Ben has built a sin bin management display for the National Hockey Stadium in Wellington. Whilst the system is used to display the time and various advertisements, the primary use is to keep track of how long different players have been in the sin bin.
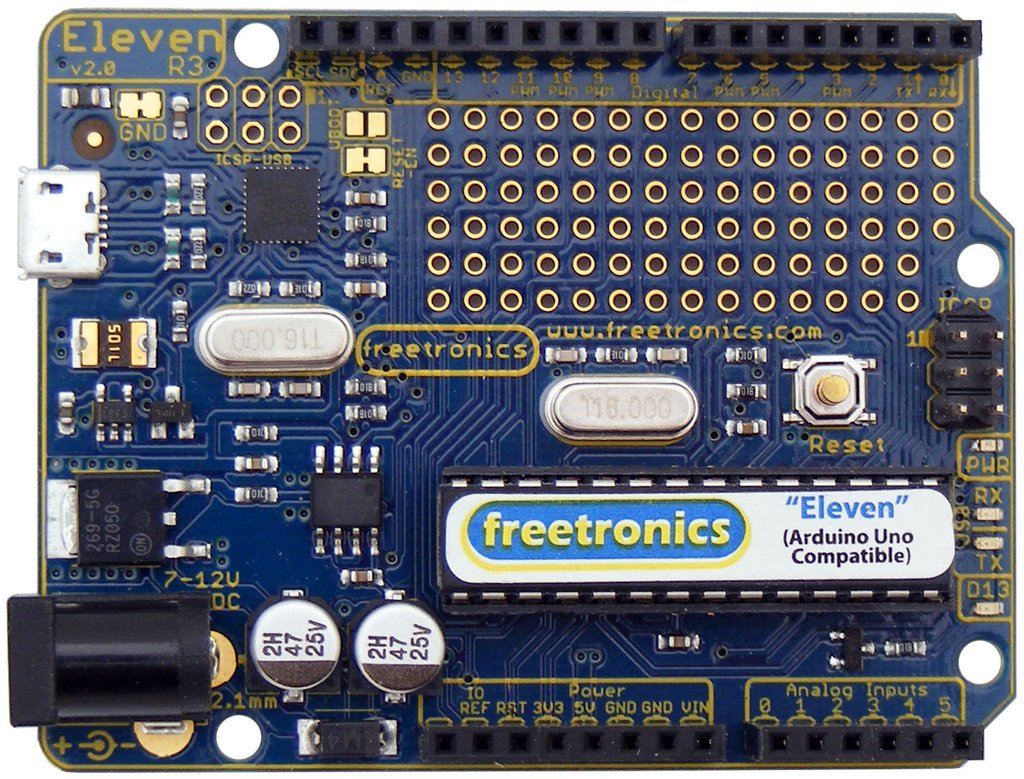
Ben’s project uses four DMD’s which are chained together and controlled by an Arduino Uno. The Uno receives commands from a Raspberry Pi powered touchscreen controller box, via a Bluetooth link. The outdoor display is housed in a custom built fiber glass case, which has special vents built into it to allow air to flow in and out whilst still keeping dust and water out. Thanks Ben for sharing!
Want to keep in the loop about the latest in home automation? Subscribing to SuperHouse Automation on YouTube is the best place to start!
Inspired to start work on this project? Are you working on a project you would like us to feature in this blog? The team at SuperHouse Automation would love to know! Tell us about it in the comments section below or on Facebook and Twitter.
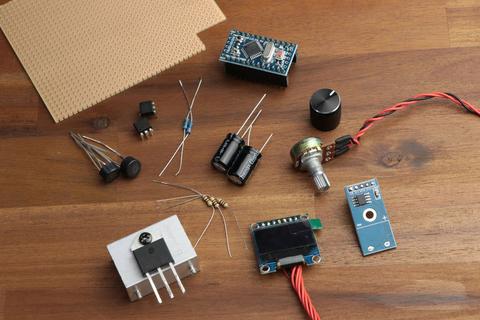
Most hobbyists start off with a cheap and nasty soldering iron which takes minutes to heat up, and provides no temperature control. Whilst a decent soldering station is a significant upgrade from a typical beginners iron, the cost can be prohibitive. Thankfully, GreatScottLab has put together a great instructable detailing how you can build your own fully controllable soldering station.
Not only is building your own significantly cheaper than buying a soldering station, but the process of building the electronics and 3D printing the enclosure provides a fantastic educational opportunity! To find out more about how you can get started building your own soldering station checkout the following link.
Want to keep in the loop about the latest in home automation? Subscribing to SuperHouse Automation on YouTube is the best place to start!
Inspired to start work on this project? Are you working on a project you would like us to feature in this blog? The team at SuperHouse Automation would love to know! Tell us about it in the comments section below or on Facebook and Twitter.
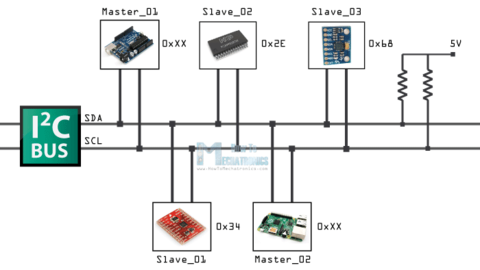
The I2C or “I squared C” bus is a simple way to transfer data between different integrated circuits, boards or sensors in your Arduino project. I2C stands for “Inter-Integrated Circuit”. One of the great things about I2C is that it only requires two connections to your Arduino, SDA (data) and SCL (clock), and you can easily connect multiple devices to the bus. If you want to learn more about the I2C bus checkout this tutorial from tronixstuff, or this tutorial from How To Mechatronics.
Want to keep in the loop about the latest in home automation? Subscribing to SuperHouse Automation on YouTube is the best place to start!
Inspired to start work on this project? Are you working on a project you would like us to feature in this blog? The team at SuperHouse Automation would love to know! Tell us about it in the comments section below or on Facebook and Twitter.
Happy Easter from the team at SuperHouse Automation! Decorating eggs is a great Easter tradition. Curtis Swartley has built a great random easter egg decorator. The project uses servos and a stepper motor controlled by a number of Arduino boards which control the spin of the egg and the position of the drawing pen. If you want to make your own decorator or see it in action checkout the following link.
Want to keep in the loop about the latest in home automation? Subscribing to SuperHouse Automation on YouTube is the best place to start!
Inspired to start work on this project? Are you working on a project you would like us to feature in this blog? The team at SuperHouse Automation would love to know! Tell us about it in the comments section below or on Facebook and Twitter.
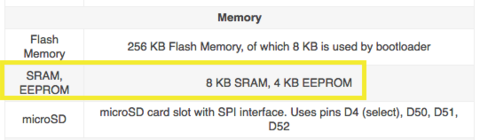
In this blog post we will be exploring EEPROM, an unheralded but extremely useful feature of Arduino boards. EEPROM stands for Electrically Erasable Programmable Read-Only Memory and is a form of memory that can remember things even when the power is turned off or the Arduino is reset. If you take a look at the specifications for most Arduino compatible boards you will see an entry for EEPROM, for example, the Freetronics EtherMega shown below has 4KB of EEPROM.
The main benefit of this kind of memory is that it can be used to store data generated in a sketch on a more permanent basis. Typically EEPROM is used to store configuration parameters or serial numbers, although it can also be useful for storing regularly updating information such as the number of times the Arduino has been reset or cumulative measurements such as total distance travelled. To learn more about how you can put the EEPROM in your Arduino to use, checkout this great tutorial from tronixstuff.
The Freetronics EtherMega is a great “fully-loaded” Arduino-compatible board. Apart from being completely Arduino Mega2560-compatible, it includes a full Ethernet interface, a microSD card socket, full USB interface, optional Power-over-Ethernet support and still has a circuit prototyping area with extra I2C interface pins. So if your project is breaking the limits, upgrade to the EtherMega today.
Want to keep in the loop about the latest in home automation? Subscribing to SuperHouse Automation on YouTube is the best place to start!
Inspired to start work on this project? Are you working on a project you would like us to feature in this blog? The team at SuperHouse Automation would love to know! Tell us about it in the comments section below or on Facebook and Twitter.
Building a home automation system is a lot of fun, but there’s a serious issue you need to consider: what will happen when you’re gone? Will anyone else be able to figure out the system that you put together?
A couple of years ago, software developer Chris Yeoh passed away after a battle with cancer. Even with time to plan, his passing still left some systems in his house inaccessible to his wife and young daughter. His situation made me think long and hard about what would happen to my family if the same thing happened to me.
I have a couple of suggestions for ways to prepare your system for dealing with a future without you.
Bootstrapping documentation
If you’re gone, and a random electrician is called in to figure out why the lights aren’t working, will they throw up their hands in disgust and walk away? The first thing they’ll do is open the switchboard to orient themselves, so put some obvious bootstrapping documentation right there at the switchboard.
When I first started taking electronics apart in the 1970s, it was normal for major appliances to have physical documentation inside them. If you take the back cover off an old black and white TV, it may have the complete circuit diagram glued inside for the benefit of service technicians. I’ve even opened up old TVs to find a complete factory service manual packed inside.
I keep a master document in Google Docs, and a hard copy on a clipboard hanging next to the main switchboard. Whenever I make a change to the cabling or anything else relevant, I write the changes in the hard copy. When a few changes have accumulated, I take the clipboard to my computer and edit my master copy. Then I print it out again, put it on the clipboard, and leave it with the switchboard.
My document contains:
Name and phone numbers of myself and my wife.
Name and phone number of our electrician.
WiFi SSID and password.
Name of my ISP, account ID, password, tech support phone number, and fault history.
Name of my cable TV provider, account ID, password, and fault history.
A plan of my house, with important locations (such as all switchboard locations) marked.
A definition of the labelling scheme for network connections.
A list of Ethernet ports and their uses.
A definition of the labelling scheme for power cables.
A list of relay outputs controlling loads in the house.
You can see a template version in Google Docs, and either duplicate it for your own use or download it as a Word doc or other format:
When you make something for your home automation system it’s usual to test the firmware, modify it until it’s working just right, and then walk away and forget it. The source code for your project is probably sitting in some obscure location on your computer, which nobody else can access. Or if they can access it, how do they know this particular Arduino is running the sketch called “SensorShield4MQTT” instead of the other one called “SensorInputsMQTT”? Or which versions of the libraries you compiled it with?
When I finish a project, I copy the source code and associated libraries onto a cheap USB memory stick or an SD card, and then put it inside the project box or attach it with a cable tie so that it always physically stays with the project.
Later, if I ever update the firmware, I also update the memory stick so that I know 100% for sure that it always contains the exact source code that is currently running on the device.
This has saved me hours of frustration on multiple occasions, and if anyone else ever wants to fix the systems I’ve built this should put a smile on their face.
Other ideas?
I’d love to know if you have other suggestions! Please comment below.
Finally, please consider supporting a cause such as Free To Breath and help fight cancer.
Getting started with Arduino and electronics can be a daunting but highly rewarding task. Fortunately there are an abundance of fantastic resources available online to help get you flashing LEDs and building your own projects.
Core Electronics has just released a free, comprehensive Arduino Workshop for Beginners which is a great tool to help get you started. The workshop is comprised of a video series which covers the everything from “what is Arduino” to specifics such as how you can use SPI, I2C, EEPROM or interrupts in your projects. You can view the first video in the series below:
Want to keep in the loop about the latest in home automation? Subscribing to SuperHouse Automation on YouTube is the best place to start!
Inspired to start work on this project? Are you working on a project you would like us to feature in this blog? The team at SuperHouse Automation would love to know! Tell us about it in the comments section below or on Facebook and Twitter.
Darts can be a great game, although if you aren’t very good it can be very frustrating! In an attempt to solve this “problem” former NASA engineer Rober has spent three years designing a building a motion tracking dart board which automatically moves as the dart is being thrown to ensure you hit the bulls eye with every shot. One of the critical elements of this system is an Arduino compatible board which helps to control the motors to realign the dart board! Although this creation is a little over engineered it is way too cool not to share!
Want to keep in the loop about the latest in home automation? Subscribing to SuperHouse Automation on YouTube is the best place to start!
Inspired to start work on this project? Are you working on a project you would like us to feature in this blog? The team at SuperHouse Automation would love to know! Tell us about it in the comments section below or on Facebook and Twitter.
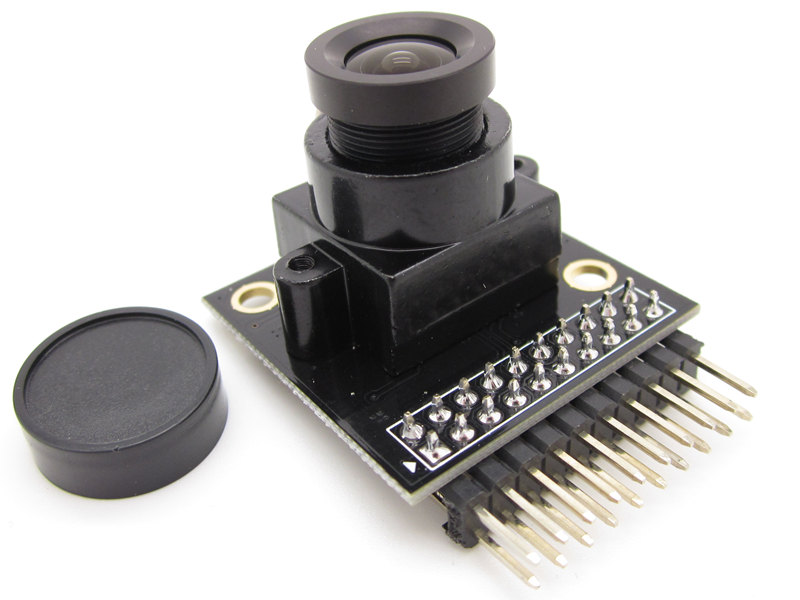
It is easy to imagine that incorporating a camera into an Arduino project would be far too advanced for the average hobbyist! However, with the advent of many low cost and easy to use camera sensor modules such as the OV7670, the barrier of entry has been significantly lowered. Mybotic has put together a great instructable explaining how you can wire up the OC7670 camera to your Arduino, and set it up to take photos which are loaded straight onto your computer using the Arduino serial port. To find out more check out the following link.
Want to keep in the loop about the latest in home automation? Subscribing to SuperHouse Automation on YouTube is the best place to start!
Inspired to start work on this project? Are you working on a project you would like us to feature in this blog? The team at SuperHouse Automation would love to know! Tell us about it in the comments section below or on Facebook and Twitter.
Electric window motors allow your home automation system to open and close your windows as required. This could be useful for opening windows to allow ventilation, or to make sure all windows are automatically closed and locked when you leave home.
I recently got my hands on some AXA electric window motors that include a LIN bus interface so they can be linked to a home automation system, but I’ve never used LIN before so I needed to learn a bit about how it works. I designed my own LIN interface module that allows me to connect my laptop to LIN devices and manually send messages, and the module also allows an Arduino to control the window motors.
I used a Freetronics EtherMega Arduino-compatible board, which combines an Arduino Mega with onboard Ethernet and Power-over-Ethernet. You can use any Arduino you like, provided it has enough hardware UARTs.
The LIN bus shield that I demonstrated in the video comes from some mysterious supplier in the Netherlands called MrX. I don’t know who designed it, but if you search for “HOME-LINBUS Arduino Shield” you may be able to find it on eBay or other places.
Simple example that provides a menu and sends commands to a single LIN interface: AXARemoteSerialLinbus
More complex example which includes MQTT, DHCP, reading a MAC address ROM, 4 LIN interfaces, a watchdog timer, and a temperature / humidity sensor: AXAWindowMQTT
Instructions and explanation
More details to follow! I’ll update this after the video is ready.